
How To Set Up Google Analytics In WordPress – Step-by-Step
Have you ever wondered WHO is visiting your website?
Because here’s the thing.
If the people who are visiting your site are NOT your ideal customer – chances are they will look at one or maybe two pages, leave and never come back (and certainly not buy something from you).
Which is why getting Google Analytics tracking onto your WordPress website will let you get to the heart of your business.
It allows you to see exactly who is visiting your content. (Not their names thankfully, just their demographics and behavioural details). So you can discover where they are in the world, what device they are on, when they visited, how many pages they looked at, where they came from (very important one this), what they bought and much much more.
Getting Google Analytics on Wordpress sites can seem complex if you’re a non-techie, and a waste of time when you already have a long list of things to be doing. But most importantly, analytics data will give you some valuable insights into whether your marketing efforts are delivering people who will end up buying from you.
The result of these insights will lead you towards finding your most profitable marketing channels – giving you much needed focus and clarity (and you can cut out doing the stuff that doesn’t work!)
Ever wondered…
Should I focus on generating great emails or should I fine tune my Facebook page?
Is it worthwhile writing blog posts? and how will I know if anyone reads them?
What page do people go to on my website the most?
Where do my visitors find me online?
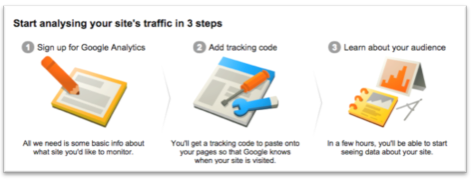
So, if you’re ready to super charge your marketing efforts, discover the best places to find your visitors and skyrocket your website traffic, here goes:
Step 1: Set Up Google Analytics On WordPress
Note: You must have a self-hosted wordpress.org website to be able to do this – wordpress.com sites cannot use Google Analytics.
First you need a GA account, you can sign up here.
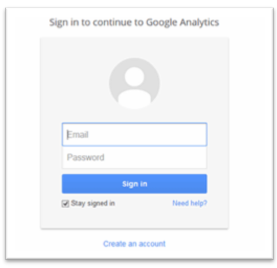
You will see a screen like this, if you have an account already, use that to sign in. You’ll then be prompted to ‘start using Google Analytics’.
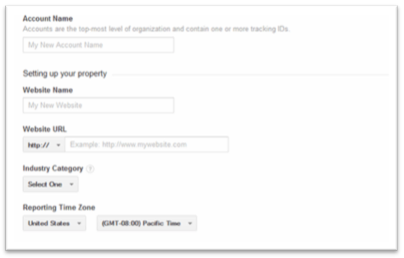
Then click the option to track a Website (rather than a mobile app) and select the ‘Universal Analytics’ option.
Then fill in the rest of the page, which is self-explanatory:
Next click on ‘Get Tracking ID’ button and click the ‘I agree’ button. This will generate the tracking code, which you’ll need to enter into your site. Now copy the web property ID, which is a number beginning UA-xxxxxxxxxx
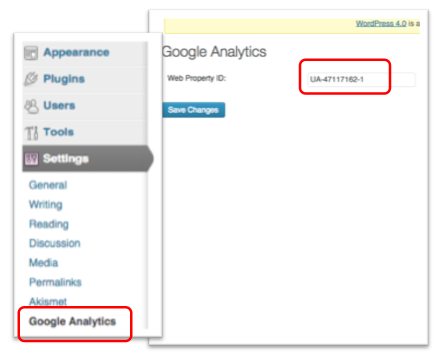
An easy way to add the tracking code is via a plug in – I use this one by Kevin Sylvestre (you can search from inside WordPress in ‘plug-ins’).
Install this, click activate and now you need to go into ‘settings’ in your wordpress admin dashboard, click on ‘Google Analytics’ and paste in your web property ID:
From within Google Analytics, now click on the top left ‘Home’ Button. You should now see your web property show up here:

Within a day or so you will start to see data populate the account, click on ‘All Web Site Data’ and this will take you into Google Analytics.
Step 2: Find Out About Your Web Visitors
Once the data has populated and you can see visitors on your GA account, now is the time to start delving into the useful stuff.
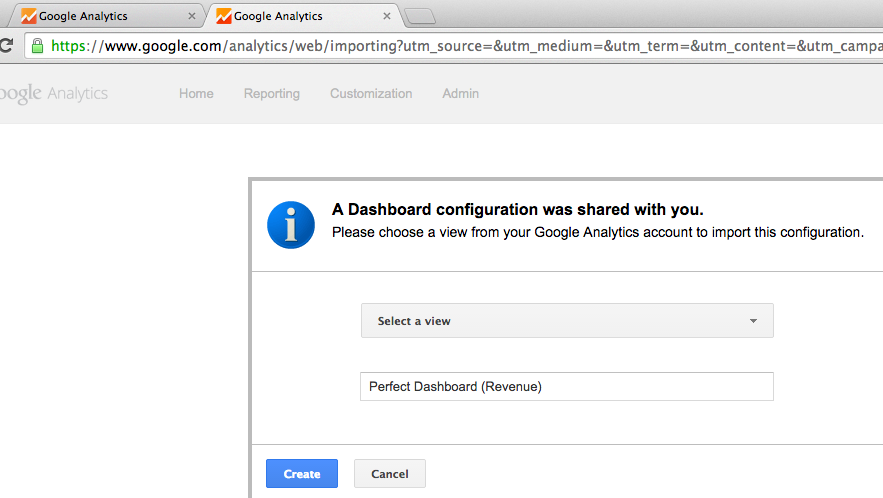
GA has a lot of data and can sometimes be overwhelming – I have a dashboard that you can install to give you a quick overview of the most important data to keep an eye on. Click here to get instant access
How To:
Now you’ve got the dashboard, try loading the link whilst you have GA open in your browser and are logged in. You should be taken to this page, where you select from the ‘Select a view’ drop down menu ‘All Website Data’:
You should then land on a dashboard like this:
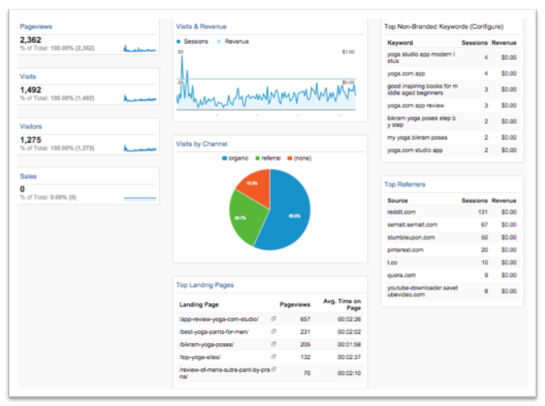
This dashboard shows you the most important pieces of information that you should track on your website in order to understand how to improve the volume of relevant visitors finding you online.
You can see which pages visitors come to most (top landing pages), which keywords send visitors to your site (top non-branded keywords), and what other sites send traffic to your site (top referrers). The pie chart also shows you how much of your traffic comes from organic listings on search engines (often the majority slice).